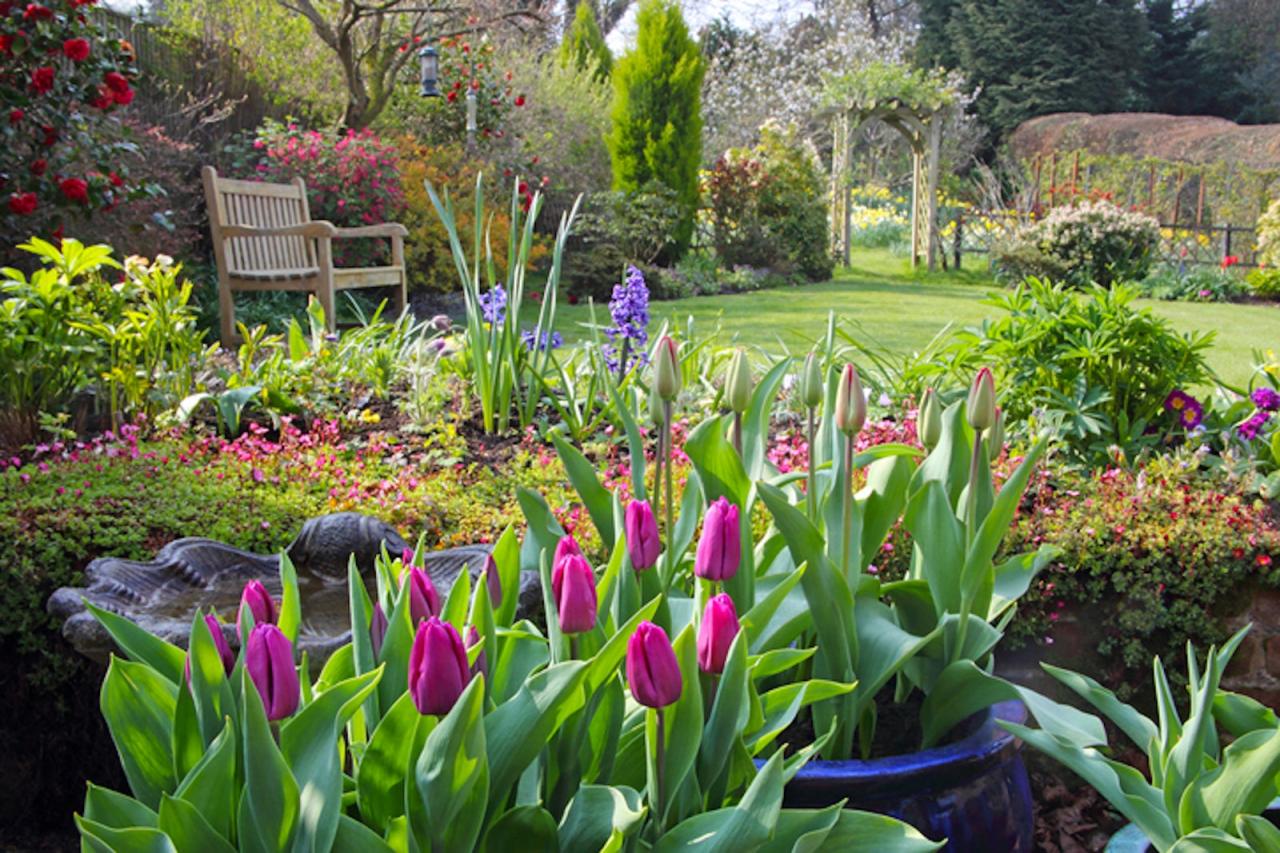
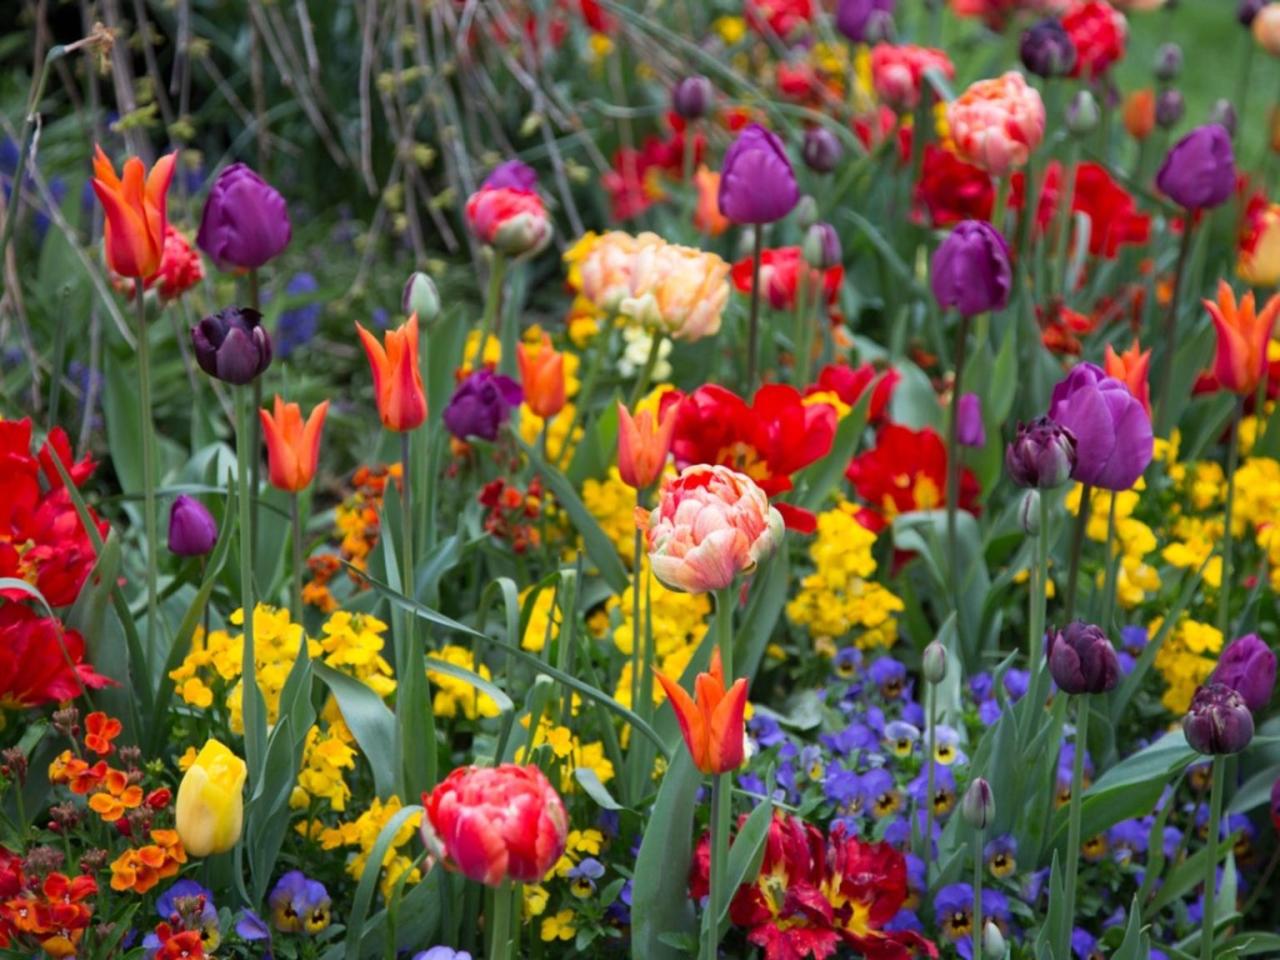
How To Create A Colorful Spring Garden With Fall-Planted Bulbs is a captivating gardening technique that allows you to enjoy a vibrant display of blooms when spring arrives. Fall planting gives bulbs the time they need to establish strong roots before winter, ensuring a spectacular show of color come springtime.
By strategically choosing bulbs and planting them correctly, you can transform your garden into a breathtaking oasis of beauty.
The process involves selecting the right bulbs, preparing the soil, planting them properly, and providing adequate care throughout the winter. By following these steps, you can create a stunning spring garden that will be the envy of your neighbors.
A Colorful Spring Garden with Fall-Planted Bulbs
Imagine a garden bursting with vibrant colors, a symphony of blooms that herald the arrival of spring. This breathtaking display is achievable with the strategic planting of bulbs in the fall. Fall planting provides a head start for your spring garden, ensuring a spectacular show of colors when the weather warms up.
Planning a vibrant spring garden starts in the fall with the planting of bulbs. Just like a Bonsai artist meticulously shapes their miniature trees, you can carefully select and arrange bulbs to create a stunning display of color and texture come springtime.
With a bit of planning and the right bulbs, your garden will be bursting with life before you know it.
This guide delves into the art of fall planting, outlining the benefits, the process, and the impact of a vibrant spring garden. We’ll explore the best timing for planting, the types of bulbs suitable for fall planting, and tips for creating a stunning spring landscape.
Benefits of Fall Planting
Fall planting offers several advantages for your spring garden. Planting bulbs in the fall allows them to establish roots before the ground freezes, resulting in stronger and healthier plants.
- Stronger Root Systems:Bulbs planted in the fall have ample time to develop a robust root system before winter sets in. This allows them to access nutrients and moisture more effectively, leading to vigorous growth and blooming in the spring.
- Early Spring Blooms:By planting in the fall, you give your bulbs a head start, ensuring they emerge and bloom earlier in the spring. This allows you to enjoy a vibrant display of colors before many other plants have begun to bloom.
- Reduced Competition:Fall planting minimizes competition from weeds and other plants. The soil is generally cooler and less active during fall, reducing the need for frequent weeding.
The Process of Fall Planting, How To Create A Colorful Spring Garden With Fall-Planted Bulbs
The success of fall planting hinges on timing. Planting too early can lead to premature growth, while planting too late may result in bulbs not having enough time to establish roots before winter.
- Choosing the Right Time:The optimal time for fall planting varies depending on your location and climate. In general, it’s best to plant bulbs 6-8 weeks before the first frost. This allows them to establish roots but prevents them from sprouting prematurely.
- Preparing the Soil:Before planting, prepare the soil by loosening it and incorporating compost or other organic matter. This will improve drainage and provide essential nutrients for the bulbs.
- Planting Depth:Plant bulbs at a depth that is twice the height of the bulb. This ensures that they are deep enough to be protected from frost but shallow enough to allow for easy emergence in the spring.
- Watering:Water the bulbs thoroughly after planting. Ensure the soil is moist but not waterlogged.
Selecting the Right Bulbs

Choosing the right bulbs for fall planting is crucial to ensure a vibrant and colorful spring garden. Consider factors like bloom time, color palette, planting depth, and the specific growing conditions of your garden to make informed choices.
Bulb Types and Planting Guidelines
To help you plan your spring garden, the following table provides a guide to various bulb types, their bloom times, color palettes, and planting depths:
Bulb Type |
Bloom Time |
Color Palette |
Planting Depth |
|---|---|---|---|
Tulips |
Early to Late Spring |
Red, Yellow, Orange, Pink, Purple, White |
6-8 inches |
Daffodils |
Early to Mid Spring |
Yellow, White, Orange, Pink |
6-8 inches |
Hyacinths |
Mid to Late Spring |
Blue, Purple, Pink, White, Red |
6-8 inches |
Allium |
Mid to Late Spring |
Purple, White, Pink |
6-8 inches |
Crocus |
Early Spring |
Purple, Yellow, White, Blue |
3-4 inches |
Snowdrops |
Early Spring |
White |
3-4 inches |
For vibrant color, consider planting varieties of tulips known for their striking colors, such as the “Queen of Night” tulip, which boasts deep purple petals, or the “Orange Princess” tulip, featuring fiery orange hues. Daffodils, like the “Ice Follies” variety, offer a bright white bloom, while the “Golden Harvest” daffodil brings a splash of sunny yellow to the garden.
Preparing the Soil
Providing your bulbs with the right soil conditions is crucial for their successful growth and vibrant blooms. Well-drained soil ensures that bulbs don’t sit in water, which can lead to rot and disease. Furthermore, amending the soil with organic matter improves its structure and fertility, creating an optimal environment for your bulbs to thrive.
Amending the Soil
Enriching your soil with compost or other organic matter is essential for promoting healthy bulb growth. Compost is a rich source of nutrients and improves soil structure, allowing for better drainage and aeration.
- Compost:A readily available and beneficial amendment, compost adds nutrients, improves soil structure, and enhances water retention. It can be incorporated into the soil by digging it in or by top-dressing.
- Manure:Manure, particularly aged or composted manure, provides valuable nutrients and organic matter. It’s best to use aged manure, as fresh manure can contain harmful pathogens.
- Leaf Mold:Leaf mold, decomposed leaves, is an excellent soil amendment. It adds organic matter and improves drainage.
Preparing the Planting Area
A well-prepared planting area sets the stage for healthy bulb growth. Remove weeds and debris, ensuring that the soil is free of any obstacles that could hinder bulb development.
- Weed Removal:Weeds compete with bulbs for nutrients and water, so it’s essential to remove them before planting. Digging them out thoroughly is the most effective method.
- Debris Removal:Remove any debris, such as rocks, sticks, or old plant material, that might hinder bulb growth or interfere with planting.
- Soil Loosening:Loosen the soil to a depth of at least 8 inches to allow for proper bulb placement and root development. You can use a garden fork or a tiller for this task.
Springtime Care
Once your bulbs begin to sprout in the spring, they require some attention to ensure they thrive and produce vibrant blooms. This section Artikels the essential springtime care practices for your fall-planted bulbs.
Fertilizing Bulbs
Fertilizing your bulbs in the spring provides them with the nutrients needed for strong growth and abundant blooms. After the first signs of green shoots emerge, apply a balanced fertilizer formulated for flowering plants. This will encourage healthy foliage and vibrant blooms.
For example, a fertilizer with a ratio of 10-10-10, containing equal parts nitrogen, phosphorus, and potassium, is suitable for most bulbs.
Avoid applying fertilizer directly to the base of the bulbs, as it can burn them. Instead, sprinkle the fertilizer around the base of the plants and water it in thoroughly.
Watering Bulbs
Watering is crucial for bulb growth, particularly during the spring when they are actively growing and flowering. Water your bulbs regularly, ensuring the soil remains consistently moist but not soggy. During dry periods, increase watering frequency to maintain adequate moisture levels.
The ideal soil moisture level is achieved when the soil feels slightly damp to the touch.
Avoid overwatering, as this can lead to root rot and other problems.
Deadheading Spent Flowers
Deadheading, the removal of spent flowers, is a vital practice for promoting continuous blooming and maximizing the lifespan of your bulbs. After the flowers fade, cut the flower stalk back to the ground level. This encourages the bulb to focus its energy on producing new blooms instead of developing seeds.
Deadheading also prevents the bulb from expending energy on seed production, allowing it to store energy for future growth and flowering.
Deadheading can also help to prevent the spread of diseases and pests.
Final Conclusion

By embracing the magic of fall planting, you can create a spring garden that bursts with color and vitality. The beauty of this technique lies in the anticipation it creates, knowing that beneath the winter’s chill, a vibrant tapestry of blooms is waiting to emerge.
So, as the leaves turn golden and the air grows crisp, embark on your journey to create a spring garden that will be a testament to your gardening prowess and a source of joy for seasons to come.
FAQ Corner: How To Create A Colorful Spring Garden With Fall-Planted Bulbs
What are the best bulbs for fall planting?
Popular choices include tulips, daffodils, hyacinths, crocuses, and allium.
When is the best time to plant bulbs in the fall?
The ideal time for fall planting varies depending on your climate, but generally, it’s best to plant bulbs 6-8 weeks before the first frost.
Do I need to fertilize my bulbs after planting?
While not strictly necessary, a light application of fertilizer in the fall can help bulbs develop strong roots.
What if my bulbs don’t bloom the first spring?
Don’t worry! Bulbs sometimes need a year or two to establish themselves before blooming. Ensure proper care, and they’ll likely flower in subsequent years.
